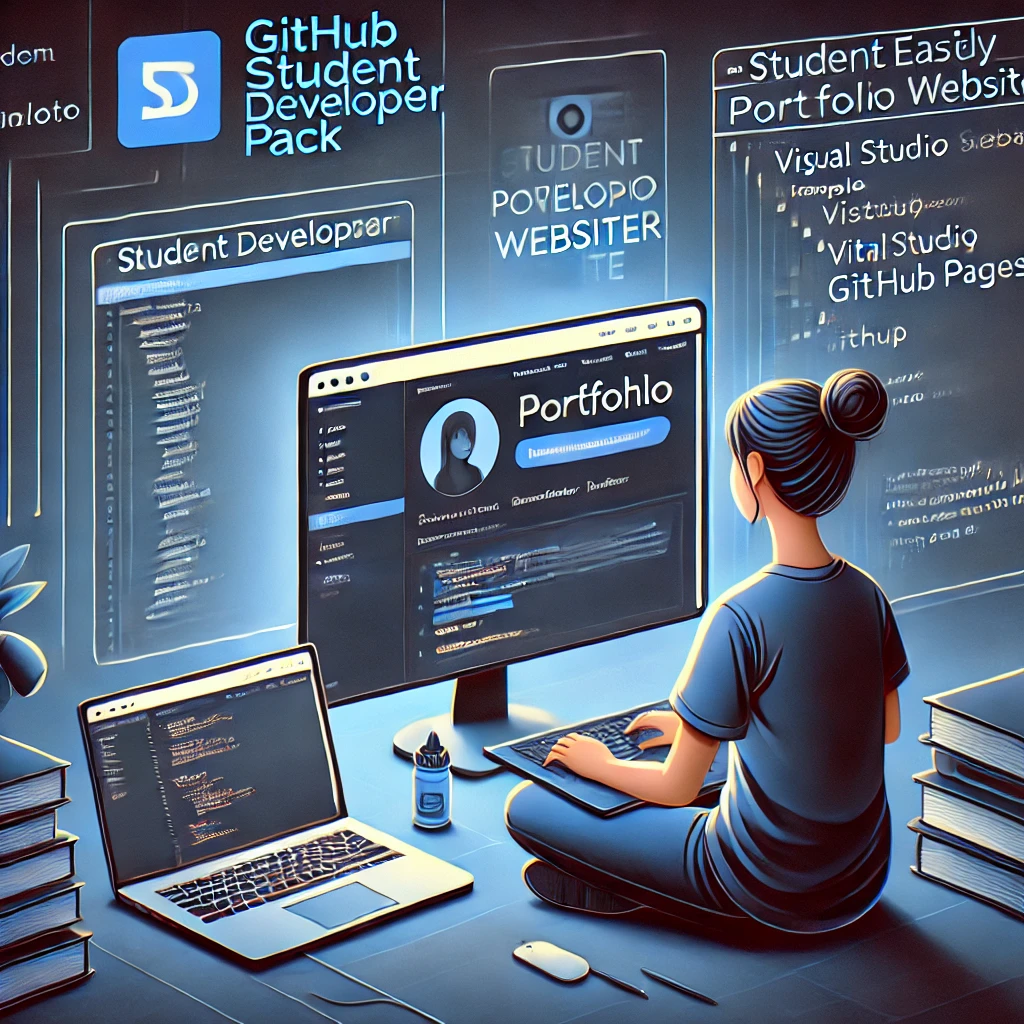
Building Your Free Portfolio Website with GitHub Student Developer Pack
Creating a personal portfolio website is essential in showcasing your skills, projects, and experience to potential employers or clients. But what if I told you that you could do it for free? If you're a student, GitHub offers a fantastic opportunity to not only learn but also build your website at zero cost. This guide will walk you through the steps of creating a portfolio website using the GitHub Student Developer Pack.
Eligibility Criteria: Are You a Student?
Before diving into the process, the first thing to consider is eligibility. The GitHub Student Developer Pack is available exclusively to students. Typically, this is done by verifying your academic email address (e.g., ending in .edu) or maybe any other email ending in .edu or similar university email ID. If you have a Gmail or any other personal email, or if your institution hasn’t assigned you a university email, you can still contact GitHub regarding this matter. Visit this GitHub blog for more details. Good news for those students who don’t have an institutional email but can provide proof that they are enrolled in a recognized academic program!
If you meet this requirement, you're already on your way to unlocking a suite of powerful tools and resources for free.
Setting Up Your GitHub Student Developer Pack
The next step is to activate your GitHub Student Developer Pack. Here’s a simple guide to get you started:
- Create a GitHub Account: If you don't already have a GitHub account, head over to GitHub and sign up.
- Activate the Student Pack: Visit the GitHub Student Developer Pack page and click on "Get your Pack." You'll need to verify your student status by providing your academic email or submitting other proof of enrollment. This process typically takes anywhere from 1 hour to 2 days.
Once your student status is verified, the Student Developer Pack will be activated, giving you access to numerous tools, including free domain names, cloud hosting credits, and much more.
Finding a Portfolio Template
Now that you have the GitHub Student Developer Pack, it’s time to build your portfolio. If you're not well-versed in web development, don’t worry! There are plenty of pre-made templates available that you can customize to suit your style.
- Visit Free-CSS: A great resource for free HTML/CSS templates is Free CSS. Browse through their collection and pick a template that fits your personality and professional needs.
- Download Visual Studio Code: To edit your chosen template, you'll need a code editor. Visual Studio Code is an excellent, free option available for download here.
Customizing Your Template
Once you have your template and editor ready, it's time to start customizing:
- Open the Template in Visual Studio Code: After downloading your template, open it in Visual Studio Code.
- Edit the Code: You can modify the text, images, and layout to reflect your personal brand. If you're new to coding and encounter issues, ChatGPT (or similar AI tools) can help troubleshoot errors.
- Live Preview: To see your changes in real-time, right-click the HTML file in Visual Studio Code and select "Open with Live Server." This will open a preview in your browser, showing you the changes as you make them.
Hosting Your Website on GitHub Pages
Now that your portfolio is ready, it’s time to host it online using GitHub Pages:
- Create a GitHub Repository: Name your repository in this format: `yourusername.github.io`. For example, if your GitHub username is `jonas`, your repository should be named `jonas.github.io`.
- Upload Your Files: Upload all your HTML, CSS, and other necessary files into this repository.
After uploading, your website will be live at `yourusername.github.io`. It usually takes 5-15 minutes for the changes to reflect.
Customizing Your Domain Name
Your portfolio is now live, but wouldn’t it be better if it had a custom domain? With the GitHub Student Developer Pack, you can get one for free:
- Choose a Domain: Use one of the free domain services provided in the GitHub Student Developer Pack, such as Namecheap, `.name`, or `.tech`.
- Configure the Domain: After purchasing your domain (e.g., `jonas.me` or `jonas.tech`), you need to configure it. Add a `CNAME` file to your GitHub repository with the domain name, and set up your DNS with the required records (ALIAS, ANAME, or A Record).
- Verify Your Domain: Finally, verify the domain in GitHub's Pages settings by following these instructions.
Once everything is set up, when you type `jonas.me` in your browser, it will redirect to `jonas.github.io`, showcasing your portfolio to the world!
Conclusion
Building a portfolio website doesn’t have to be expensive or complicated, especially if you’re a student. With the GitHub Student Developer Pack, you can access all the tools you need to create and host a professional-looking website at no cost. I hope this guide has helped you understand the process. Now it’s your turn to get creative and start building your online presence!
Thank you, and happy coding!
References
- GitHub Documentation. How to Host Your Website for Free Using GitHub Pages. GitHub. Retrieved from https://docs.github.com/en/pages.
- GitHub Education. GitHub Student Developer Pack: Access Powerful Developer Tools for Free. GitHub. Retrieved from https://education.github.com/pack.
- Free CSS Templates. Collection of Free HTML & CSS Website Templates. Free CSS. Retrieved from https://www.free-css.com/free-css-templates.
- Visual Studio Code. The Code Editor for Building and Customizing Websites. Microsoft. Retrieved from https://code.visualstudio.com/.
*This article is not sponsored*